The Battery back up sump pump construction makes a difference. Our review tells you what is important and why. Be an educated shopper. Learn why GPM, size, battery capability and Wi-Fi make a difference.
You do have a battery backup sump pump, right? Sooner or later your sump pump will fail. Either the float switch or electricity may fail. If that happens during a heavy rainstorm, the water must go somewhere. Most likely, it will flow over the sump basin rim and cause a flooded basement. Why go through such an experience when a battery backup sump pump can be installed to handle main pump failure.
Battery Back Up Sump Pump Construction Table Of Contents
The best battery back up sump pump housing is cast iron. Cast iron dissipates heat best and does not warp or break. Thermoplastic is most commonly used. Thermoplastic is used for three reasons.
Battery backup pump performance refers to the pumping capability of the pump during a heavy rainstorm. An active sump pump during heavy rain storms makes knowing pump performance key to keeping your basement dry. So the next time it rains hard, note how much water your main pump pumps in one minute.
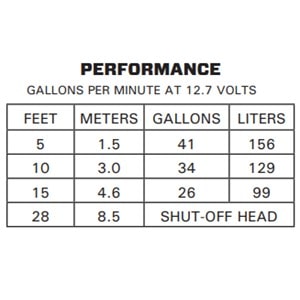
Here are the detailed instructions to measure the pump performance needed so you install the right size sump pump. Below is a list of backup pumps with pump performance also known as GPM (gallons per minute). Keep in mind that if your main pump is three-fourths HP (0.75), there are no battery backup pumps that have such pump performance. The best source power for such high GPM is a power inverter. Learn more about a Power Inverter.
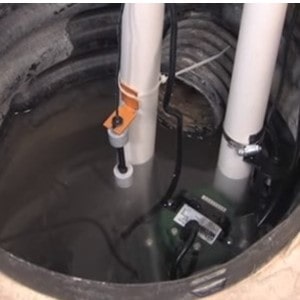
The space a backup sump pump needs depends upon three factors: the width of the main pump, the diameter of the basin, and the backup pump installation method. The width of a main pump varies. They are usually six to eleven inches wide. The width of the main pump and the diameter of the basin determine how much space is left for a backup pump. The most common diameter for a basin is sixteen inches. The can be sufficient to install a backup pump next to the main pump. However, if the space remaining for the backup pump is insufficient, some backup pumps can be installed inline above the main pump. So knowing your measurements is key to purchasing the right size backup sump pump.
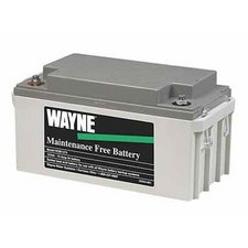
The hours a backup pump battery lasts depends upon how frequently it runs, its amp hours, its percentage of charge before usage and the life of the battery.
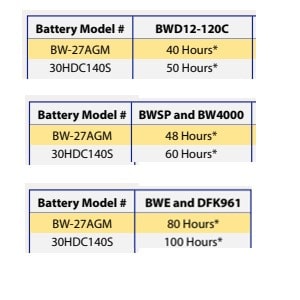
A backup sump pump battery will pump continuously for 6 to 8 hours or intermittently for 72 hours. A battery with 120 amp hours will last longer than a 90 amp hour battery.
Some backup system controllers allow for two batteries to be connected in parallel. Connecting two batteries increases the amp-hour capacity also known as the run time.
A fully charged battery will last longer than a partially charged battery. The charger used with the backup system determines how fast a battery can be recharged. The specifications below show a big difference between how fast a battery can be recharged. Battery charger amps vary from 1 amp to 20 amps.
Batteries usually last 5 years before they need replacement. AGM batteries can last 8 years though the price point is much higher.
A backup sump pump system with Wi-Fi connectivity is a sump pump system capable of monitoring and sending alerts regarding the status of a backup system. Such alerts can be customized to send text, phone or emails regarding the status of a battery backup system. Such systems act as the eye of the home for those away from home.
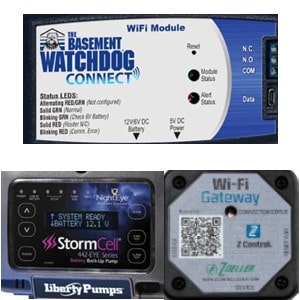
The specifications below indicate the varying degrees these systems provide pump activity monitoring and notification.
Questions About Battery Backup Sump Pump Construction
Yes, a sump pump battery backup is worth it. It prevents unwanted water which causes damage, mold, frustration, and time and money loss.
When the main pump fails, the water that was to be removed from the basin ends up over flowing the basin and causing a basement flood. A flooded basement causes damage to personal belongings and equipment. Uncontrolled water can also can also cause shorting, electrical fires and electrocution.
Main sump pumps fail not only because of electrical outages but also because of pump part failure. The most common failure is the float switch which fails during continuous pumping during a rain storm.
A battery backup for a sump pump will generally last 6 to 8 hours for a fully charged battery. That length of time can be extended to 72 hours if the pump runs intermittently and the battery amp hours are over 100.
Yes, you can add a battery backup to a sump pump. In fact a main sump pump is installed first; then the home owner thinks about adding a backup pump. Most sump basins are large enough to install a backup sump pump either alongside the main pump on the bottom of the basin or above the main pump in line with the discharge pipe.
The cost to install a sump pump battery backup depends upon the cost of the battery backup sump pump system itself and the labor to install it. The average cost of the back up system is $300 to $700, the cost of a deep cycle marine battery is $150 to $300. Hiring a plumber to install it can cost $400 to $700. Installing a backup system is something a home owner can do because of video and written instructions available.
If you are thinking it is too costly to install a sump pump, remember your loss of time, personal belongings and equipment plus the risk of mold will far outweigh the cost of a battery backup system.
Installing a battery backup sump pump is not a hard as it may seem. Once you review the steps below and the manufacturer's instructions and watch a video you will be able to install yours like a pro.
Install a Battery Backup Sump Pump In 15 Steps
Step 1 - Choose to install the pump on a sunny day so there is no pressure of hurrying to beat the rain. The primary pump needs to be unplugged so it is not operational during installation.

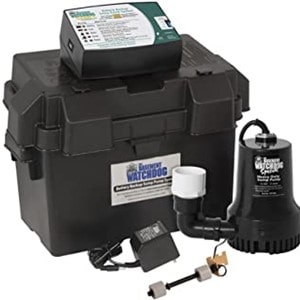
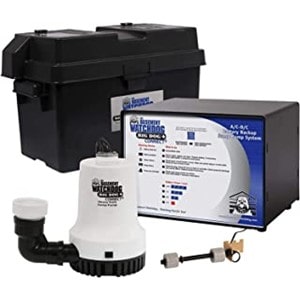
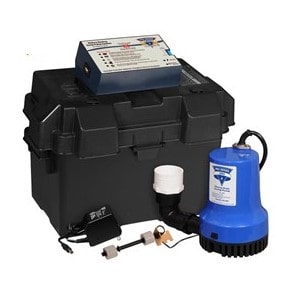
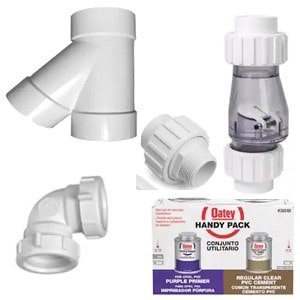
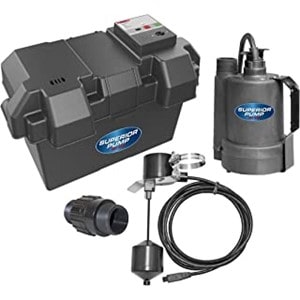
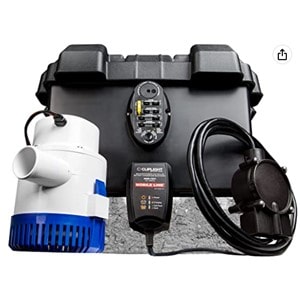
Step 2 - Remove the backup system from the packaging. Note the items included such as the pump, float switch, controller and box and charger. Other things may include a tie for the float switch and a pump port adapter. Make sure you have a battery. You will also need a "y" connector, elbow, PVC pipe and purple primer and cement and a check valve.
Step 3 - Unplug the primary pump. Cut the existing discharge pipe used by the primary pump about 12 inches from the top of the basement floor. If a check valve exists, cut the discharge pipe at least 4 inches above the check valve. A check valve will be installed in the discharge pipe to be solely used by the backup pump.
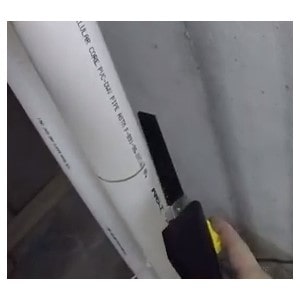
Step 4 - Install a new check valve to the discharge pipe that is connected to the primary pump. Make sure the check valve flow arrow is pointing upwards. Both the primary and backup pump need their own check valve. Unplug the primary pump. Cut the existing discharge pipe used by the primary pump about 12 inches from the top of the basement floor. Installing a quiet check valve is ideal.
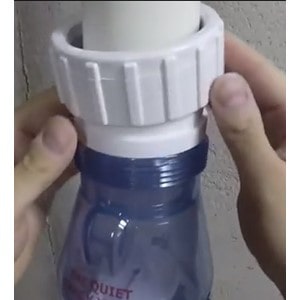
Step 5 - Build the discharge piping for the backup pump. Cut a piece of PVC piping about 12 inches long, glue the pump port connector to the bottom of the pipe and screw it into the backup pump port.
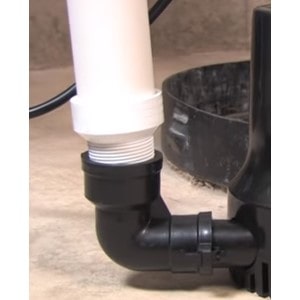
Step 6 - Drill an airlock hole in the backup pump PVC piping. Use a 1/8 inch drill bit. Angle the hole downward and around 6 inches above the base of the backup pump. Make sure the hole is below the top of the basin because water will spray out when the pump shuts off. This hole prevents air from being trapped and causing the pump to run without pumping water.

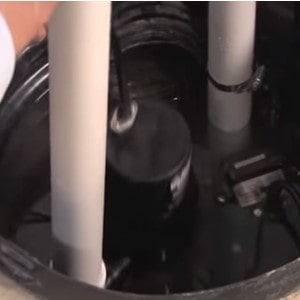
Step 7 - Screw the discharge pipe from step 3 into the backup pump port. Lower the backup pump with the discharge pipe into the basin next to the primary pump. Make sure the two pumps do not touch each other.
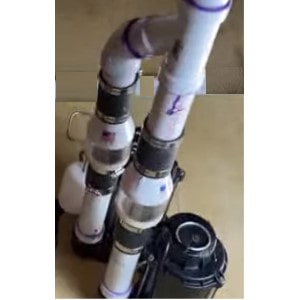
Step 8 - Attach the WYE connector to the discharge pipe so both the discharge pipe for the primary pump and the discharge pipe for the backup up pump can be attached.
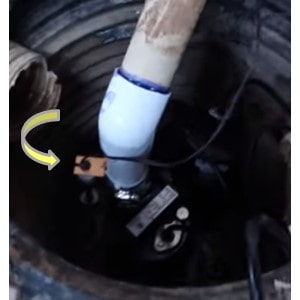
Step 9 - Attach the float to the backup discharge pipe so that it is above the top of the main pump. This is necessary so the backup pump will activate after the water is above the ON point for the main pump. Keep the float switch away from the drain tile coming into the basin so it is not falsely activated by inflowing water into the basin.
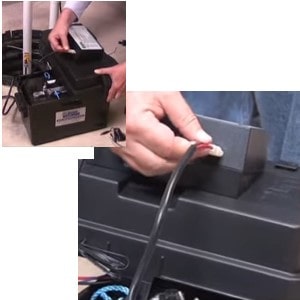
Step 10 - Place the battery into the battery container. Plug the backup pump cord into the control unit.
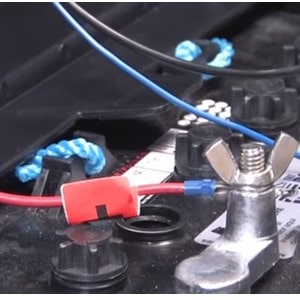
Step 11 - Remove the wing nuts from the battery and connect the wires from the control unit to the battery. The black wire goes to the negative post and the red wire goes to the battery positive post. Then tighten the battery wing nuts.
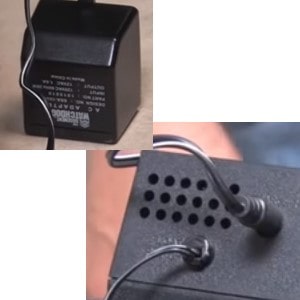
Step 12 - Plug the charger cord into the control unit and then into the AC wall outlet. An alarm may sound at which point it is necessary to press the test button.
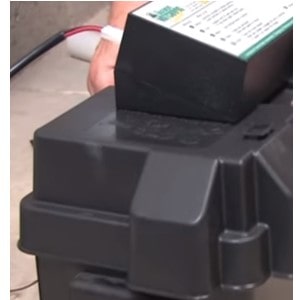
Step 13 - Place the control head onto the battery box to close the box.
Step 14 - Plug in the main pump. Both pumps should be operational now. Make sure no wires are touching each other and the pumps have distance between them. Test for leaks and make sure the battery backup pump is installed properly by pouring water into the basin so it is high enough to cause both pumps to run. Watch for leaks and tighten accordingly. .

Step 15 The installation is now complete. Nice job!
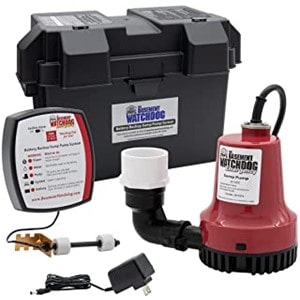
Watching a battery backup sump pump install makes it easier for the do-it-yourself homeowner. Though Glentronics, also known as BasementWatchdog, presents the video. Regardless of what brand is chosen, the steps are very similar.
Not all battery backup pump systems are equal. Some have Wi-Fi connectivity; others do not. Some have a pump performance almost equal to a one-half horse power primary pump. Some have a charger that is at least 20 times more than others for quicker battery recharging. Some have two float switches which adds protection when one fails. Some have a three year warranty.
The specification differences make it possible to choose the best battery backup sump pump system for your water pumping needs.
Wi-Fi Connectivity
Monitoring and notification when the battery backup sump pump is running or has a problem is key to homeowners.
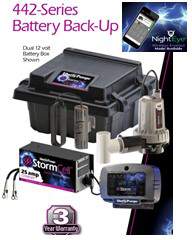
The models with Wi-Fi connectivity when their remote monitoring module is added include the Zoeller 508-0014, Basement Watchdog BWSP and BWD12-120C; Glentronics PHCC-1850 and Liberty Pump 442-10A.
Pump Performance
Pump performance becomes an issue for those home owners whose primary pump is one-half horse power or more. Many battery backup sump pumps are not built to handle large a volume of water.
Highest GPH are models Zoeller 508-0005 and Zoeller 508-0014 with 2,040 GPH at a 10 foot vertical height, Wayne original ESP25 with 2,260 GPH, Liberty 442-10A at 2,100 GPH' Basement Watchdog BWD12-120C at 2,250 GPH.
Charger Amps
A charger amp keeps the battery charged. The rate at which a battery can be recharged varies by model. Many chargers are 1.0 Amps or less which means that it will take up to 3 days to recharge a depleted battery.
Highest charger Amps are Zoeller 585-0005 (Pedestal) with 28.0 Amps, Zoeller 507-0005, Zoeller 508-0005 and Zoeller 508-0014 with 10 Amps; Liberty Pump 442-10A with 10 Amps.
Additional Float Switch
Float switches are the first thing to fail for a sump pump. Having an additional float included with the system that automatically works when needed adds additional protection against backup pump failure.
Redundant floats are included with the Zoeller 508-0014, Basement Watchdog BWD12-120C and Glentronics PHCC-1850.
Warranty Period
Battery backup sump pumps are not used often therefore warranties do not add a lot of value; but it is reassuring to find backup systems with a long warranty.
The longest warranty is 3 years for Zoeller 507-0005. Zoeller 508-0005 and Zoeller 508-0014, Liberty Pump 441 and 442-10A and Glentronics PHCC-1850.
Select the Battery Backup Sump Pump Brand of interest or scroll to see all brands.
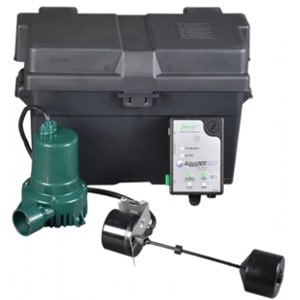
507-0005
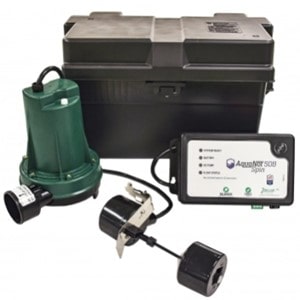
508-0005
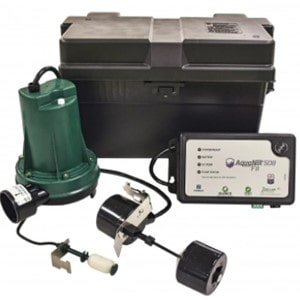
508-0014
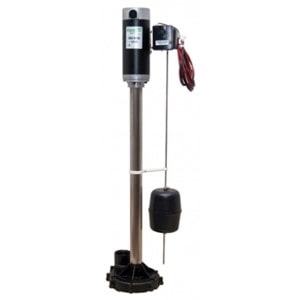
585-0005
10-1450 AGM Battery
10-0761 AGM Battery
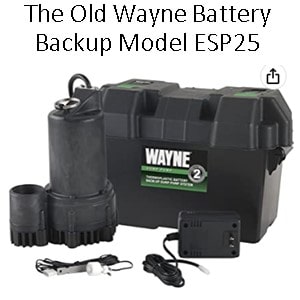
ORIG ESP25

UPGRADED ESP25n
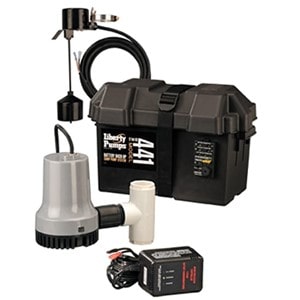
441
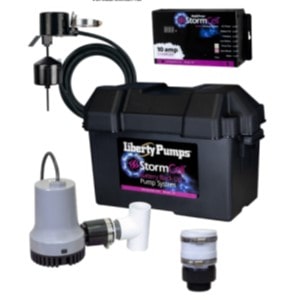
442-10A
442-25A
BWE
92900
92910
RL-SPBS
HELPFUL RESOURCE LINKS TO COMPARE AND SHOP PUMPS
POPULAR BRANDS
BEST SELLERS
DETAILED PUMP REVIEWS
OTHER HELPFUL WEBSITES
OUR MISSION
SHARE US